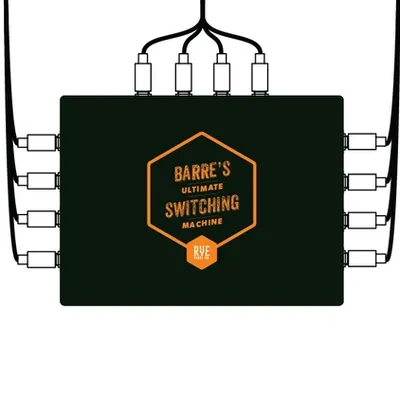
Barre's Ultimate Switching Machine | Guitar Amplifier Switch
Designing an amplifier switching box from the ground up

The Problem
While playing music with a good friend of mine, he mentioned that he wished he could easily switch between his two amps. Seems simple enough, but he has a complex pedal board that requires these signals:
- Input
- Send (Effects Loop)
- Return (Effects Loop)
- Footswitch (stereo)
This would require four A/B switches centrally located in his studio and at least twelve cables to connect them all. The logistics are a nightmare to say the least.
Designing the Box
The design process was much more in-depth than the examples you're about to see, but this project happened long before I'm writing this post. I hope you enjoy this abridged version of my process.
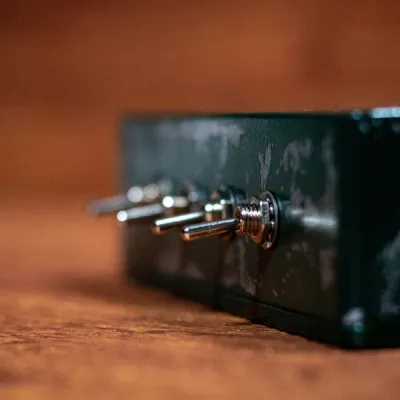
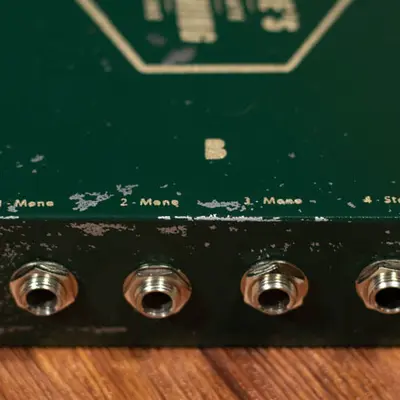
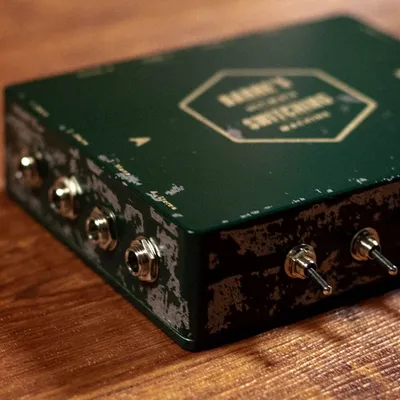
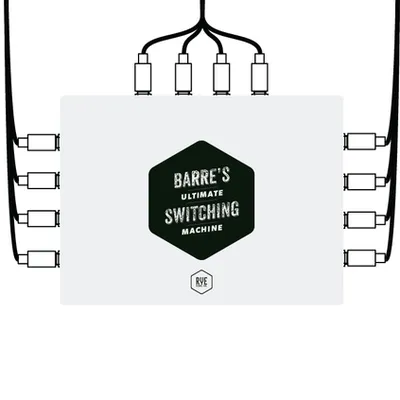
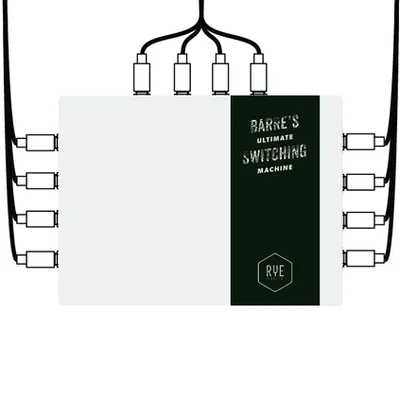
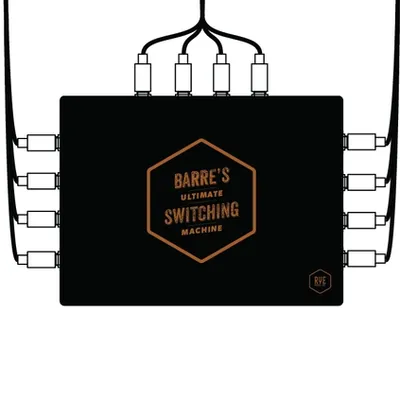
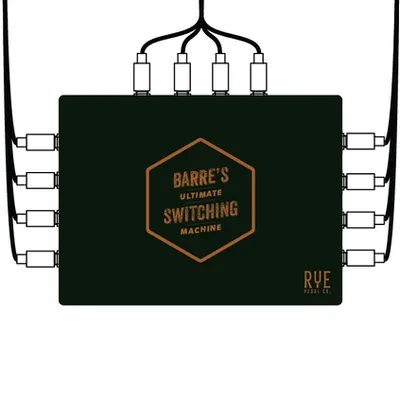
I had decided on the box (1590XX / 1790NS Stomp Box) for the sheer size/surface area to place the plugs and switches. This decision also afforded me ample space for the internals. The massive surface area allowed me to use three TS and one TRS plugs (both 1/4") and the four switches (SPDT).
The layout came together out of necessity, but symmetry is generally a good thing in my opinion.
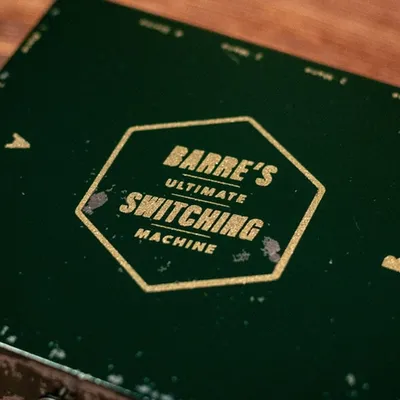
Last detail is that I decided my company name would be "Rye Pedal Co." it's not a long story, but one for another time. I had been making guitar pedals for a while and decided I should be called something if I was going to make a custom product.
The following designs are just a few of the possible designs I made. The name was a joke, but my friend refused to let me change the name once I said it.


Unnecessary Work
I don't like buying over-priced instrument cables. So, the next logical step was to measure his home studio's dimensions, create a layout with his pedal board location, where I would route cables, and make custom-length cables to fit his room.
Again, it was a long time ago, so I don't have pictures of this process. These are the details:
- 12 cables (9 mono & 3 stereo)
- 160ft of cable (Mono & Stereo)
- A LOT of soldering
It was a lot of work, but absolutely worth the final product! Unfortunately, I don't have pictures of myself making them or the setup, but you will just have to imagine.
The End Result
Once the box was made and assembled, all that was needed was a coat of paint and the graphic. I like custom-shop guitars and "worn" look, so that was the goal. I made a custom stencil with a couple coats of spray paint, roughed up the base coat, and finally finished it off with a clear coat.